Updated August 5, 2021. This process was just validated on Apple Mail v. 11.5. The new path to the signature file is now:
Library ——– > Mail —— > V5 ———> Maildata —– > Signatures
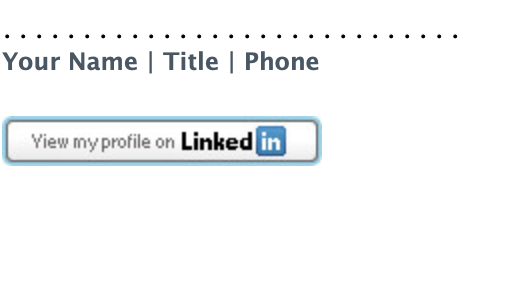
Below I have added a code snippet, which uses a LinkedIn Badge. Follow the process outlined in the rest of this post.
. . . . . . . . . . . . . . . . . . . . . . . . . . . . .
<div id="sig" style=" font-family: 'Lucida Grande', Verdana, Arial, Sans-Serif; font-size: 12px; color: #455664; " ><strong>Your Name | Title | Phone<br>
</div>
<br>

<a href="https://www.linkedin.com/in/your linked in public profile url"><img src="https://media-exp1.licdn.com/dms/image/C4E12AQHh9fBjpzFo1A/article-inline_image-shrink_1000_1488/0/1520629876336?e=1633564800&v=beta&t=DXtaV99K6zrTqb2hLRCqphXczTS4CovXDFj0VQlzmVg" alt="LinkedIn_Badge" style="float: left; padding: 2px 6px 0 0;"></a>
If you’re reading this, you know how aggravating it can be to get an email from someone, seemingly with an attachment, but there is no a attachment. The culprit of this phantom file is invariably the logo or image they are using as part of their email signature.
After a period of trying to ignore this at work, I finally broke down. When every email you receive from your colleagues looks to have an attachment, it can drive you nuts. Typically an email with an attachment is of higher importance than one without. (it’s almost as annoying as those ridiculous disclaimers people tack on to the end of their emails, but don’t get me started on that pseudo-legal baloney.)
The issue rests on how the logo image is embedded in your signature. Here’s how to do that the right way:
(The following procedure has been validated as of Aug 5, 2021 on Apple Mail v. 11.5)
1. Open your Mail application.
2. In the menu go to Mail —– > Preferences ——- > Signatures.
3. Select the email account for which you want to assign this new signature.
4. Create a new signature and assign it to the email account you wish to use. **This is an important step. Don’t skip it. You can leave the contents of the signature blank, but you must have this file created and associated with an account in order for the next steps to work. Each signature you create is stored as a separate .mailsignature file (we will get into how to edit this file in a minute.)
5. Close Mail.

6. Next we will need to locate the signature file you just created. This will take some drilling down through your computer. You need to go to the folder named Library. Here is the fast way to get there: From Finder, click GO (appears in the top menu when Finder is active). When you’ve clicked GO then hold down the Option Key. You should notice Library appear in the list. See Fig 1.
(Update 5-21-16: The folder changed from V2 to V3. As of 8-05-21 the folder is now V5)
7. Now drill baby drill: Library ——– > Mail —— > V5 ———> Maildata —– > Signatures
8. Sort the list view by Date. This will show you the last signature file you created, which should be your placeholder from earlier. This will be a .mailsignature file. (See Fig 2 at the bottom of this post.)
9. Open this file using BBEdit or TextWrangler. Once you get this file opened, just leave it open for now.
10. Now we have to get into a little HTML code. You can download my example. (Or copy and paste the code snippett I incouded above.)

NOTE: When you view the source of the sample file you will notice the trick with the logo that makes this whole thing work. The logo has to be called from a server. (My example shows the logo being called/hosted on my server.) In the new code snippet I added at the top of the page notice that the Linkedin badge is called directly from Linkedin. Where the logo is hosted is up to you, but it has to be publicly hosted somewhere.)
You can get more elaborate with the HTML if you want. How much you want to tinker is up to you. Here is another example you might use.
11. Save the sample signature to your desktop. If you’re using my example, the file name should be example_signature_file.html.
12. Open Safari. This is how you’ll preview what this file looks like. Open the signature file from inside of Safari. Note: when you make edits to the file’s source, you can continue to preview the file from Safari. This is pretty standard if you do any sort of HTML editing.
13. Go into your text editor (BBEdit or TextWrangler) where you have your placeholder file open. That’s the last file you created in Mail with the extension .mailsignature. (note, if you can’s see file extensions in your Finder, you’ll need to update that preference. See how here.)
14. ALSO open example_signature_file.html in BBEdit or TextWrangler. You will have BOTH of these files open.
15. Cut and paste your final HTML out of the .html file into the .mailsignature file. Make sure you don’t delete the header information in the .mailsignature file.
16. Save the newly edited .mailsignature file.
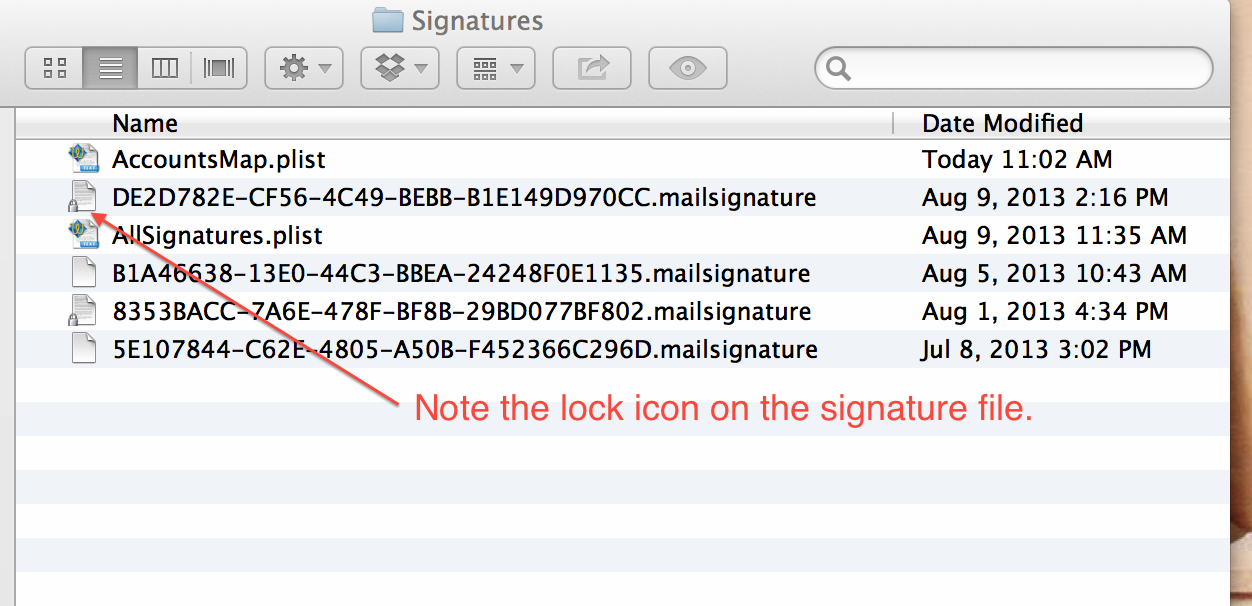
17. Next LOCK the file. You do this by right-mouse clicking on the file, then click Get Info. Check the box next to Locked. You can also view a file’s info by holding down Command on the keyboard, and at the same time pressing I. (Command+I). See Fig 2
18. Reboot your Mail program.
19. Create a new message. If you’ve assigned the signature properly, the new one should show up. Note: If you’ve made the inline image a hotlink, it won’t work when you are composing, but the recipeint will be able to click the logo/hotlink. You’ll want to test this.
20. TEST by sending an email to one of your other email accounts or to someone else. Make sure, in the inbox your email with the new signature file doesn’t appear with a paperclip.
That’s it. It might be 20 steps, but it’s one big leap towards improving your digital image. As I mentioned, I ran through this process again on Aug 5, 2021 and it all worked. Drop us a line if you have a question.
— Cheers!
Scott